During my last semester break, I had planned on trying out lots of new stuff, looking forward to having some time to work on my own projects after an extremely exhausting semester. Among the many things on my to-do list, I wanted to do something more legitimate, and in this episode of me trying to homelab, virtualization.
I forgot how the idea for this project came about, but I believe it originated when I was trying to set up The Littlest Jupyter Hub, and got really frustrated with the fact that the software is designed in such a way that it literally suggests you to wipe the entire system as the official way of removing the software. It just assumed that anyone that would be using this project would be doing it on a cloud VM where you could just spin up a new machine and just delete it once you’re done.
This is due to how deep it messes around with your system like using systemd, adding native user accounts each with its own home folder and etc. It was very not modular, and I’ve tried my best to containerise it. However, it is simply not possible due to the fact that it requires systemd, and to do that on Docker just opens up a whole can of worms that I didn’t have time to figure out during my semester. Anyways, I’ll have to digress for now.
Why ESXi
The Current Problem
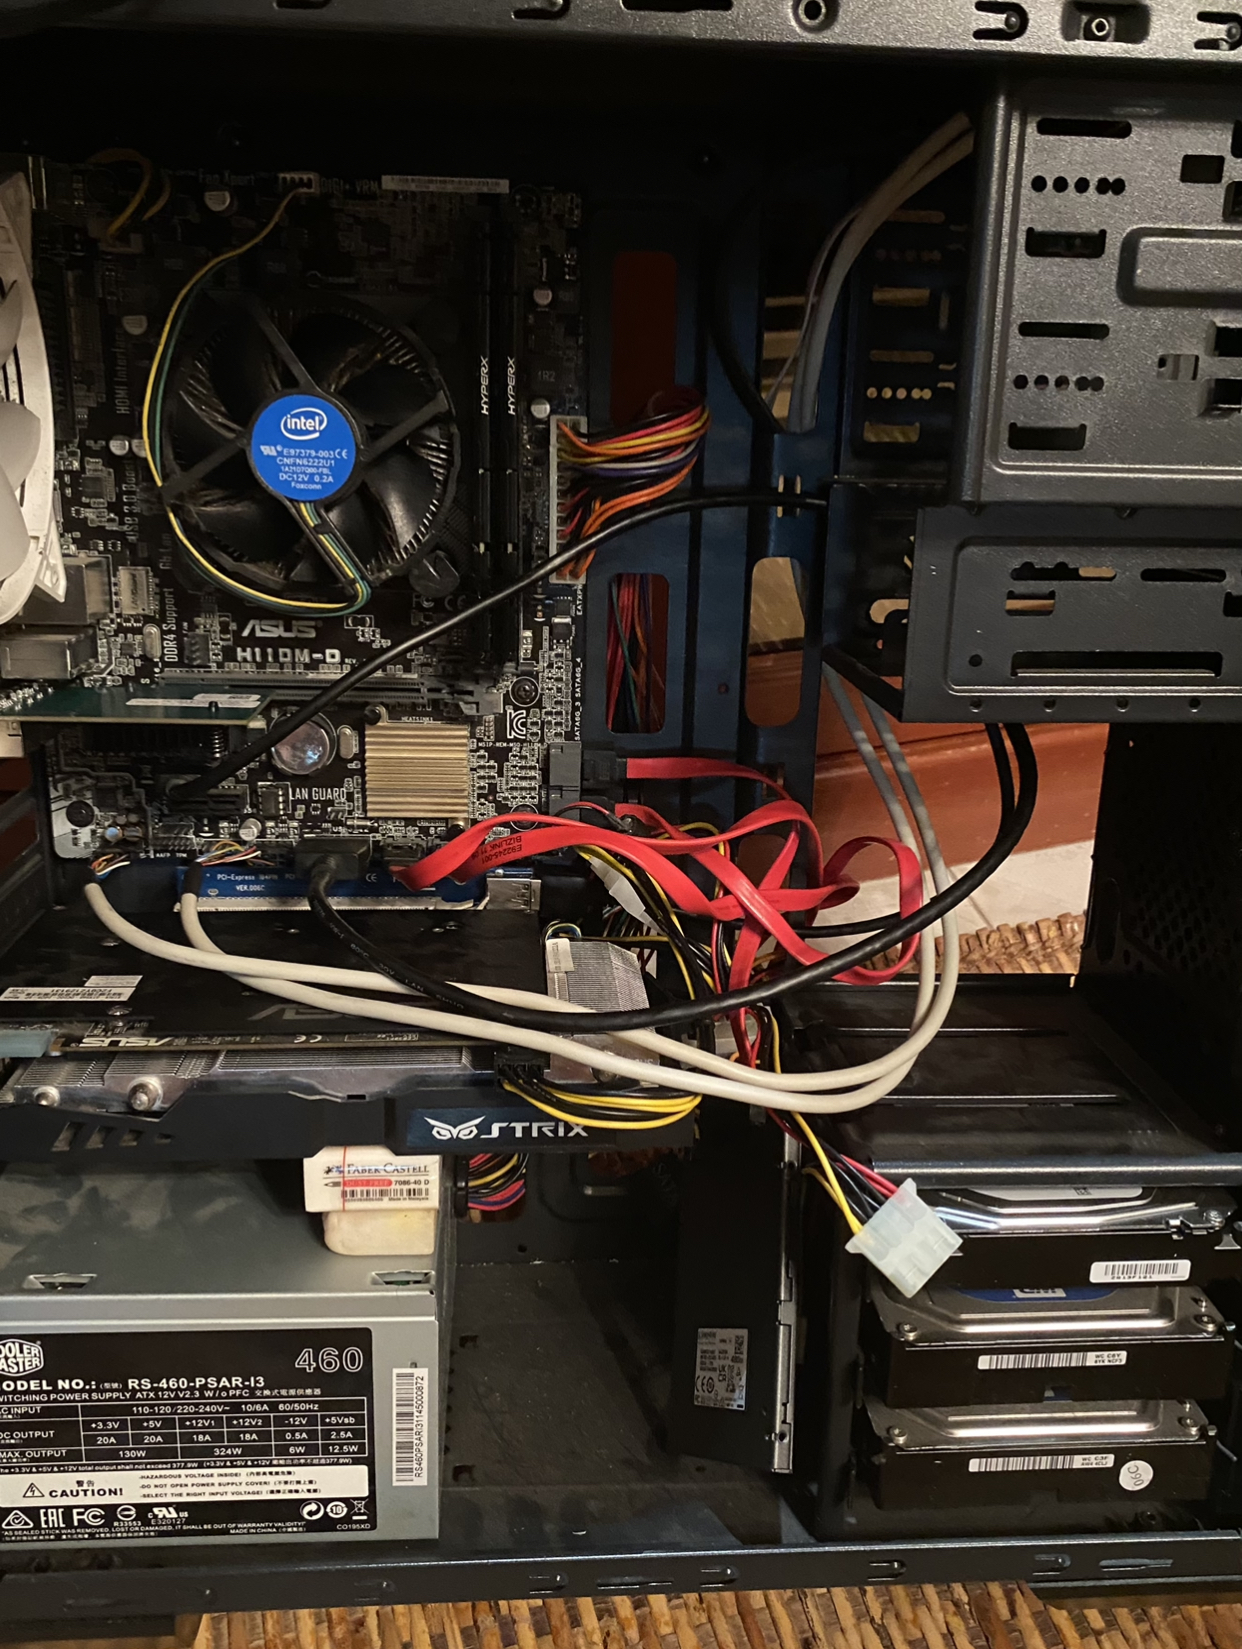
In my homelab, my primary server runs Windows 10 Pro, and I’ve always just been annoyed by Windows all the time. The sheer bloat and its poor resource management made the performance unbearable. The server itself is nothing crazy either, just an i5-6400 with 16GBs of RAM, you’d think it’s more than capable of running a Minecraft server right? Wrong.
I won’t go any further into detail, but it has been a long-time-standing intention for me to move toward Linux. But I’m sure you’re wondering why I have not done it, and what does that got to do with ESXi?
I’ll have to explain the role of the home server, as it also serves double duty as my home theater PC, which my parents use to watch Youtube and surf the web at home. As such, I need Windows, not by choice. Forcing them to learn and use Linux was way more effort than just putting up with Window’s shenanigans.
Proxmox?
For this project, my goal is to ultimately be able to have Windows and Linux running simultaneously, and that is where a hypervisor like ESXi comes into play. While I’ve had plenty of experience using virtual machines, this is actually my first time using type-1 hypervisors.
While there are quite a few options out there, the two biggest contenders came down to VMWare’s ESXi and Proxmox VE. There are numerous reasons for choosing one over the other, but it ultimately came down to which is the better skill to learn. Don’t get me wrong, Proxmox is great, however, ESXi is the industry standard, and it will be a very useful skill to learn. The main drawback though? It is a pain in the ass to get working on non-certified enterprise grade hardware⸻consider this challenge accepted!
The Plan
There are a few requirements that need to be fulfilled. Firstly is that I need to have my GPU and storage drives to be passthrough to the Windows VM. I plan to use my iGPU for the ESXi console output and my GTX 960 for display output. The primary reason for this is that my server is hooked up to a 4K TV and the iGP can only output at 4K@30Hz, and since audio is handled by the GPU it also simplifies the setup.
Originally I had hoped to have a better storage solution through stuff like TrueNAS or whatnot, as it turns out, you can’t really use them on pre-existing drives. In other words, I’d have to temporarily move my data somewhere else, and then re-initialise the filesystem on my drives and then migrate my data back. Long story short, it’s too much work, and I couldn’t care less. I’ll just passthrough my drives directly to my Windows VM because they are formatted as NTFS, and I already have pre-existing infrastructure that relies on my previous SMB setup so let’s just not bungle that up.
A side benefit to using a hypervisor is that it makes managing the computer so much simpler. One of the issues with not being at home is that providing tech support is hard, and not having control over the hardware(like changing BIOS settings) makes it super difficult. Having a display output from the ESXi control panel for diagnostics is godsent.
Getting ESXi Working
Preparation for ESXi
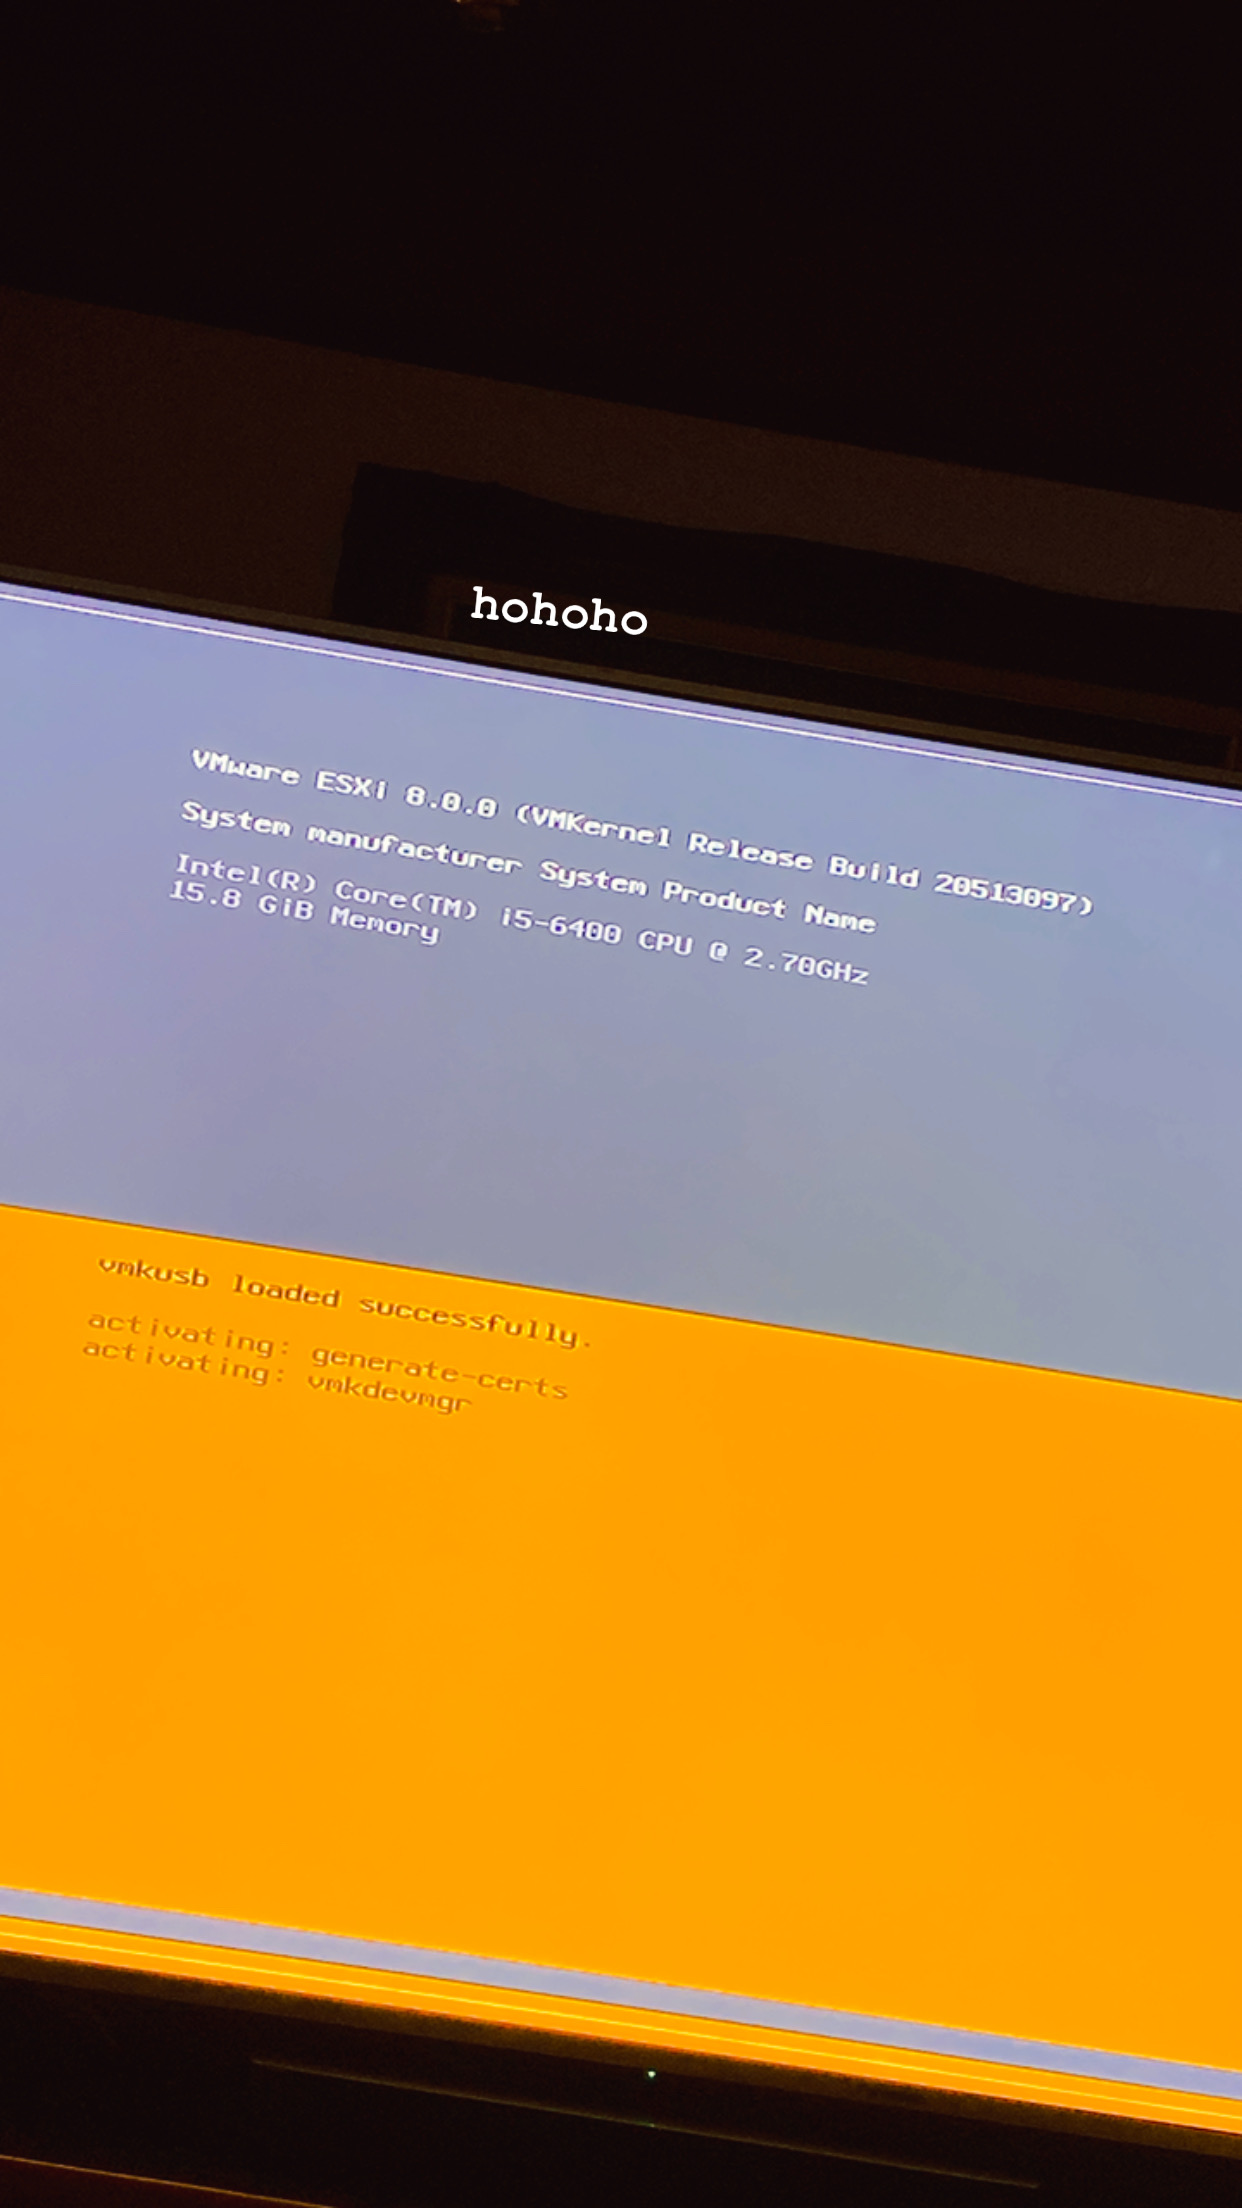
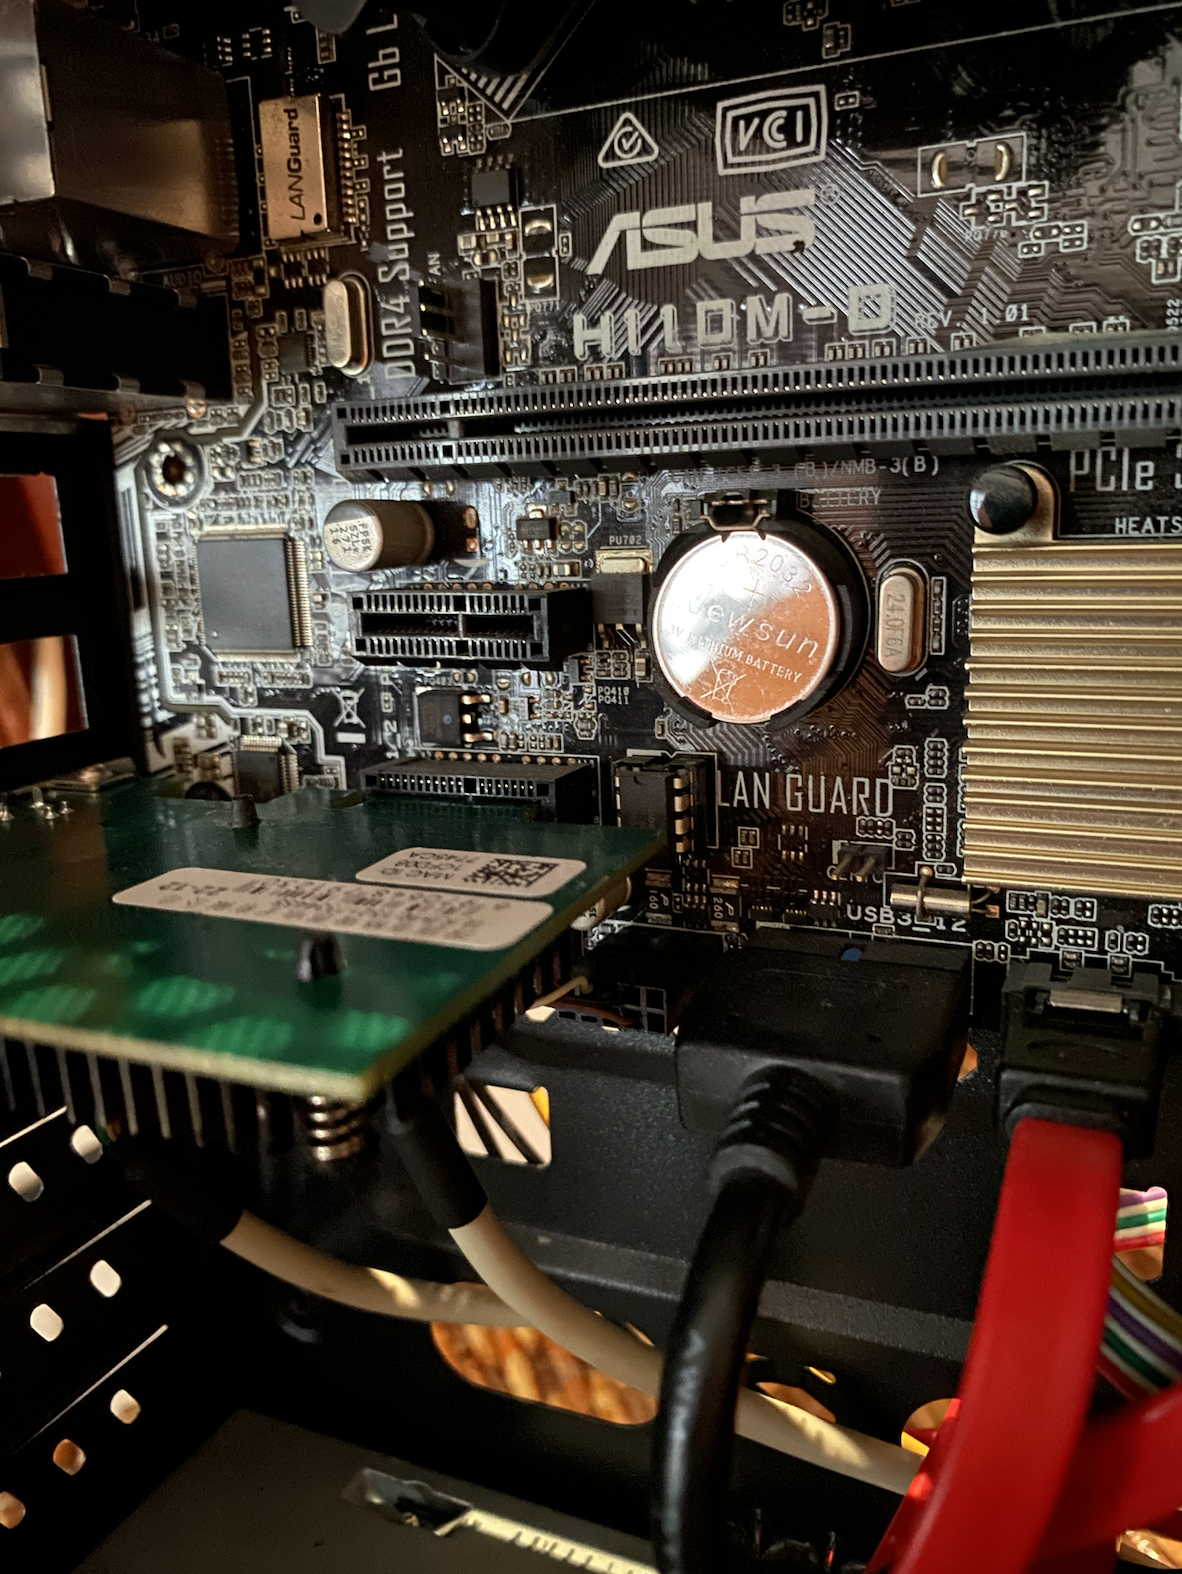
One of the biggest⸻if not the biggest⸻challenge for ESXi is that it is meant for enterprise-grade hardware, ie your Intel Xeons, AMD Epyc, Dell PowerEdge and what not, compatibility is a HUGEE issue for consumer-grade hardware. Well, my CPU should work, and generally should be fine as its not too old.
The latest version is ESXi 8, which is what I’ll be using. However, there are still many homelab folks that are still running ESXi 6.7, and for a good reason. This is because in ESXi 7 and later, VMWare canned support for vmklinux driver, which is how the community got Realtek NICs to work, commonly found on midrange consumer-grade motherboards, mine included.
In short, this meant that I’d either have to run ESXI 6.7(or older) or I’d have to get a separate network card, or I can just run Proxmox…let’s not do that. New network card it is then.
First order of business, find out what cards are supported, or more specifically, what chipsets are supported. After scouring reddit and using VMWare’s extremely confusing hardware compatibility search tool, it seems that Intel and Mellanox are quite popular and well supported. After a new days of deliberation, I’ve decided to get a NIC with Intel’s i225 controller. And from what I read, you don’t need any specific brand or manufacturer of the network card, just make sure it has the right controller and works properly.
After another round of scouring Taoabo, I’ve decided to get this particular card because it is the cheapest dual 2.5GBe card that I can find based on the i255 controller. I asked the seller if it was compatible with ESXi but the seller didn’t know and asked me to check the compatibility page, and yet the listing mentions ESXi.

I also got another drive for ESXi. I could just reuse my Windows SSD, but its a little small, and a new data SSD was kinda dirt cheap. It also meant that in case of catastrophic failure, I could just plop in the old SSD and pretend like nothing ever happened.
Installing ESXi (trying)
First start by getting the ISO from https://customerconnect.vmware.com/en/evalcenter?p=free-esxi8. Remember to register to get a free license key. Just a quick note about the registration for ESXi. I tried registering it as a student but it keeps falling. It is likely a VMWare issue as I’ve tried multiple browsers and internet connections. So just register yourself as a small organization.
There are plenty of tutorials out there on how to get a USB install stick so I won’t be going into detail as to how to do it. I just used RUFUS and let it do its thing. Once that is done boot from the USB stick and just follow along with the installation process.
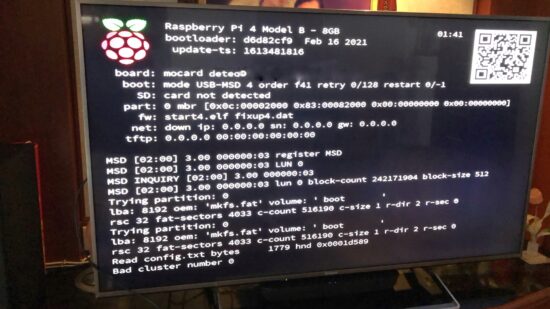
The installation went smoothly, and once booted up I saw that ESXi was attempting to get an IP address from DHCP, great, I thought. I continued waiting, and waited, and waited. No dice, it eventually assigned itself a private IP. That’s concerning. I checked the management interface, and it seems to have detected my NIC, but when I checked my router, na-da. The indicator LEDs were definitely on, though.
Initially, I thought perhaps ESXi did not detect my card, and it is just displaying a phantom card. So, I tried reinstalling ESXi without my NIC, and as expected, ESXi stopped me from installing as it couldn’t detect any NICs. I just kept on trying different things, reinstalling, changing BIOS settings etc, nothing worked.
I even went as far as to reseat the CPU to ensure all the pins were in contact. The reason is that, particularly for LGA CPUs, there are cases where certain PCI-E slots(like the x1 slots I’m using) might not work properly due to poor contact between the CPU and the socket, even if everything else is functioning fine. Another mistake I did was that I never did test the card upon receiving it, which should’ve been my first course of action. To isolate hardware issues once and for all, I booted up a live Ubuntu desktop and well, everything worked fine. Plug and play.
This then got me really worried, because if the card does technically work, then it might mean that because I cheaped out and got a random Chinese card, it is incompatible with ESXi, and my entire project is bust.
However, at some point in my troubleshooting, I decided to swap my NIC to the primary PCIE x16 slot, and it just works. It immediately got an IP through DHCP, and I managed to enter the ESXi console for the first time. I then tried swapping the card back to its original x1 slot, paying careful attention to not change anything else, and it stopped working. And swapping back to x16, it immediately started working again.
I checked my motherboard’s datasheet, and the only conclusion that I can make is that ESXi doesn’t have support for my chipset, and since the two x1 slots are provided by the chipset, it doesn’t work as expected. I’ve tried all sorts of PCIE configs in the BIOS, but nothing worked. For now, I’m forced to use my x16 slot for my x1 network card, which means I can’t plug in my GPU…
Well anyways, at the very least, we can now use ESXi!

First Impressions
This is my first time using ESXi, and any hypervisors in general. So, I won’t go into detail about using ESXi as at this point I’m just stumbling my way through everything. But I’m still going to mention some of the stuff that I found interesting.
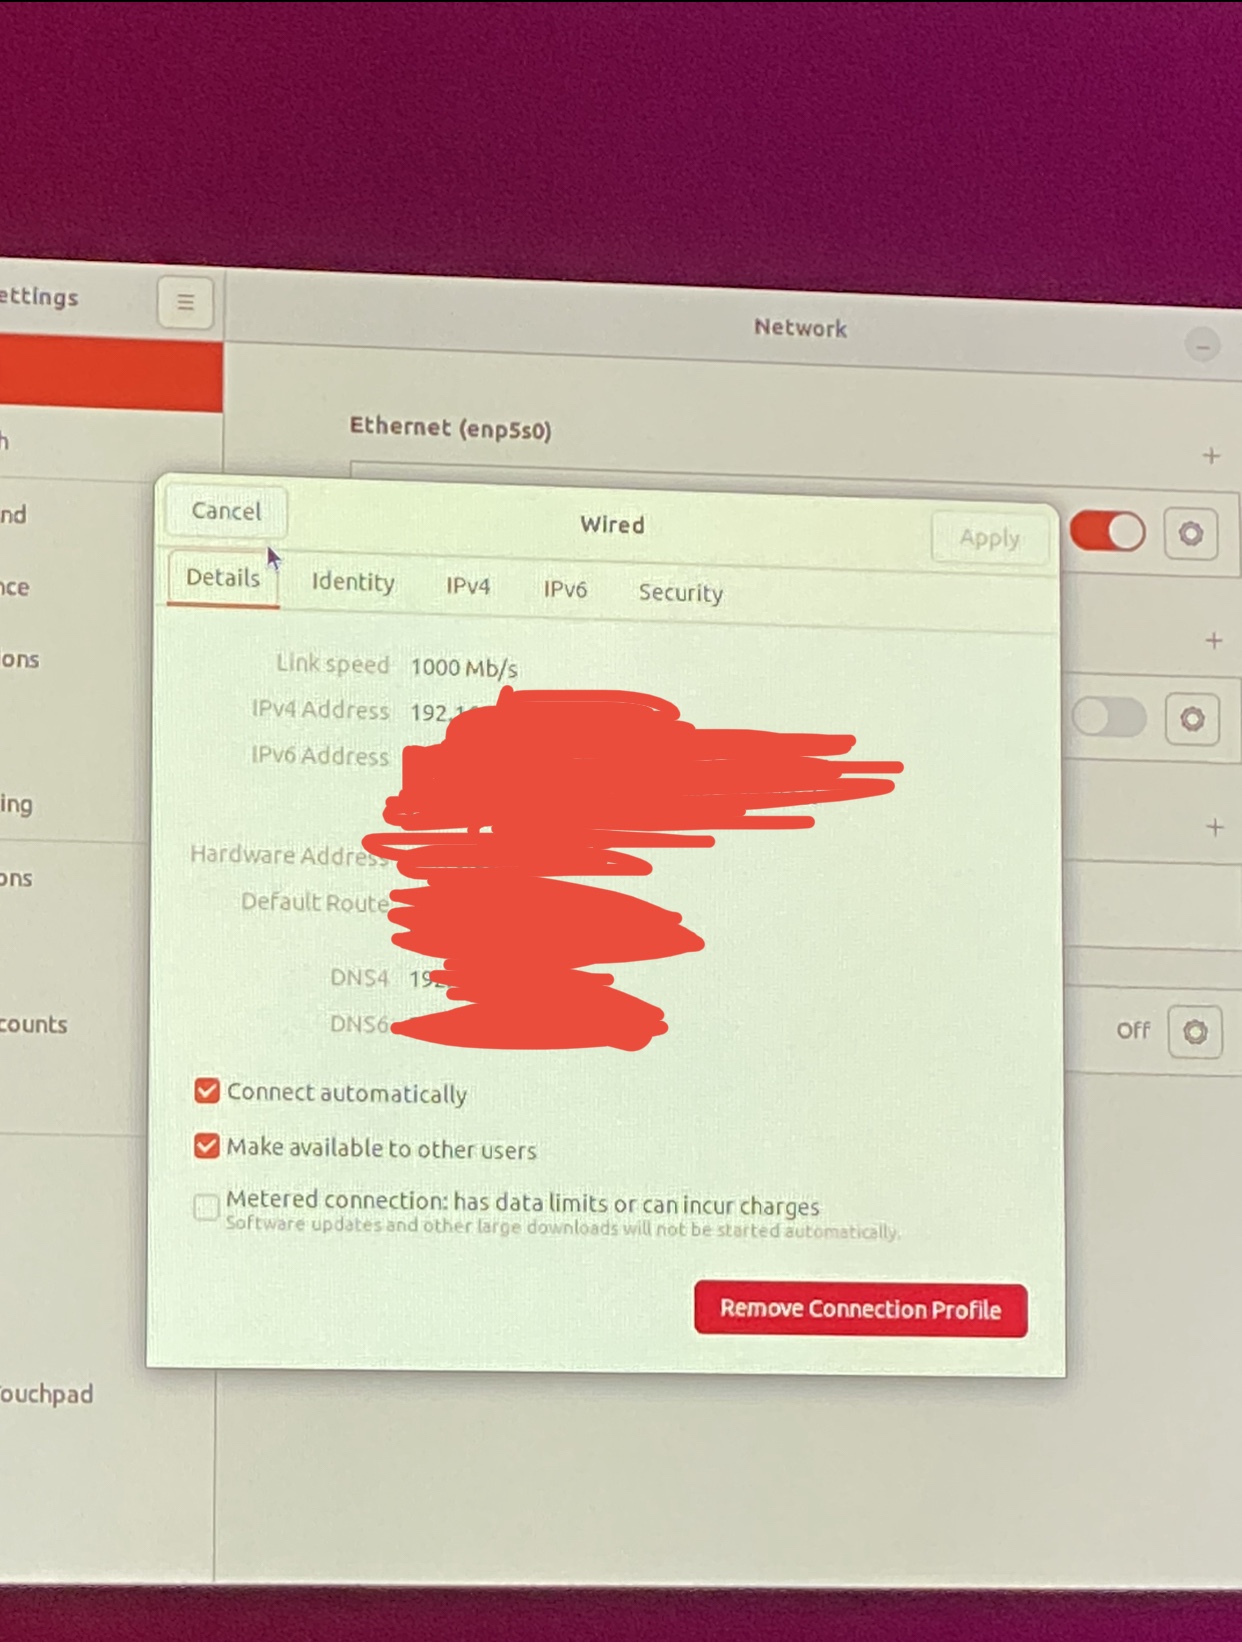
One of the first things that I did was to deploy a Windows VM, and since I intend to make the transition from my previous Windows setup to this VM as smooth as possible, I need to make sure that the IP address of the VM is the same as my previous one.
One of the really cool things that you can do is that, by default, your VM is assigned a virtual network adapter with a MAC address, so your router will see it as a standalone device on the network, and that means you can configure it like any other device.
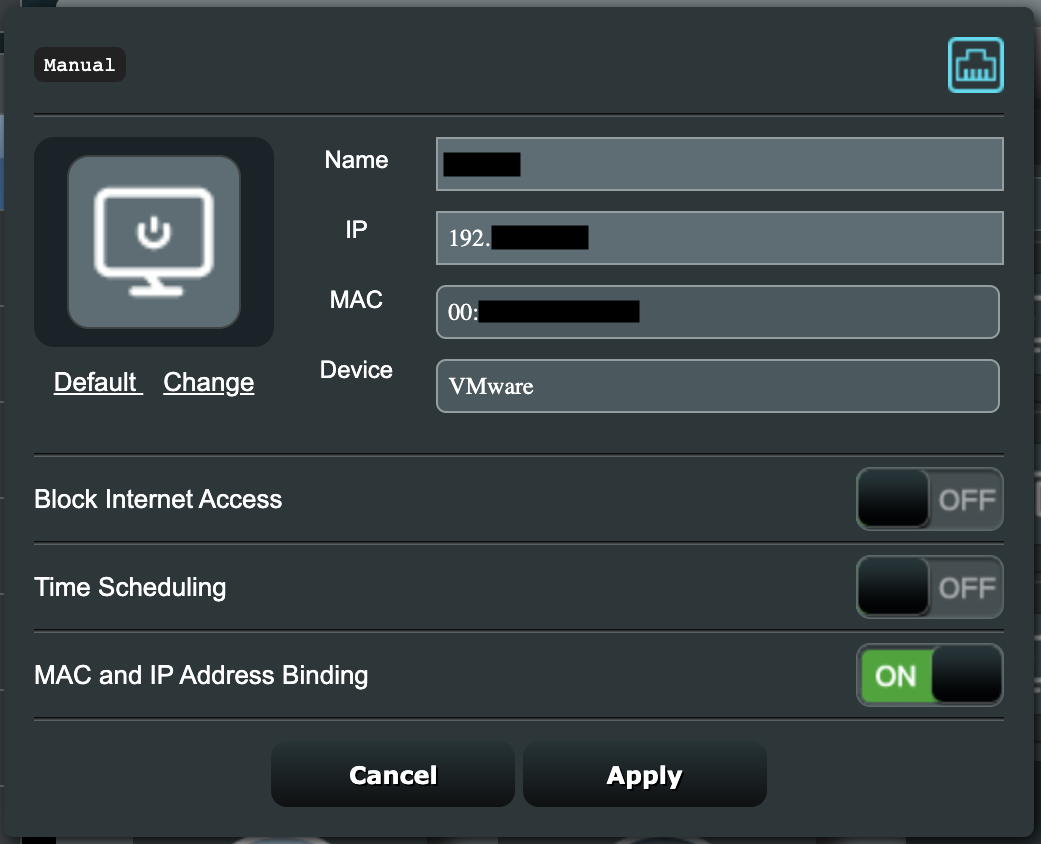
So now, if I were to restore any of my previous services, everything would just work like before like nothing ever changed! Now that I have a working Windows VM, it’s time to move on to more challenging stuff.
Getting ESXi Working (continued)
GPU Passthrough
With my network card taking up my x16 slot, how the heck am I supposed to install my GPU then? This is probably one of the craziest things I’ve done in my years of building computers. To solve this, I’ve decided to get a x1 to x16 slot PCI-E riser that all the crypto miners use. Thanks to the collapse of the crypto mining scene, there was a huge influx of cheap used PCIE risers for mining rigs.

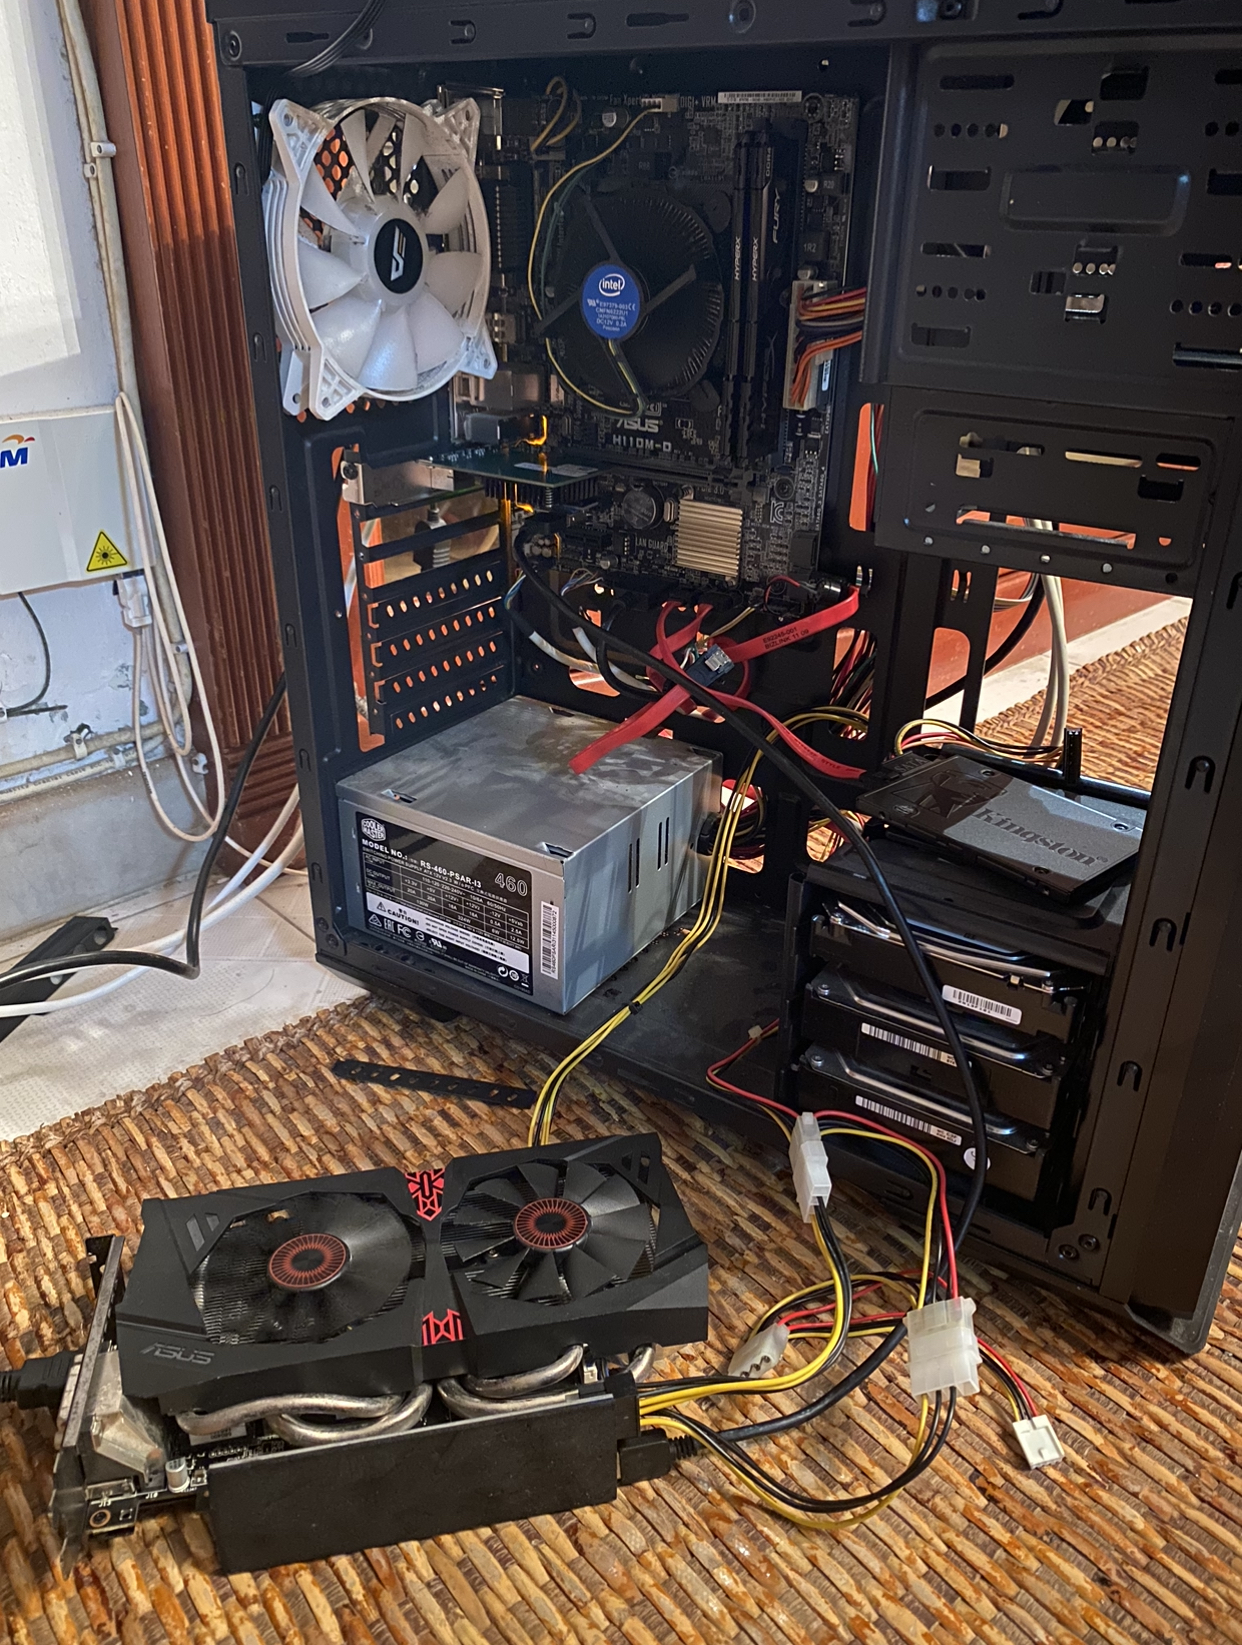
I’ve never used these risers before, but lo and behold, my GPU worked! ESXi detected it and I was able to enable GPU passthrough. Gotta say, this setup is ghetto and whack as hell.
Here comes what I expected to be the tough part, GPU passthrough. My GPU is a NVIDIA GTX 960, and NVIDIA isn’t known to be friendly towards “enterprise” features like GPU passthrough. I began by searching for online guides on how to enable GPU passthrough for NVIDIA GPU, and boy there were loads of them. I tried a bunch of them, and a lot of them said very different things. I won’t pretend like I know what is right and what is wrong, but I’ll tell you what worked for me.
From all the guides and discussion posts I’ve read, these parameters tend to be mentioned quite often.
pciPassthru.use64bitMMIO=”TRUE”
hypervisor.cpuid.v0 = FALSE
pciPassthru0.msiEnabled = FALSE
I’ve tried them all, and in the end, none of them worked. For example, hypervisor.cpuid.v0 purpose is to spoof the CPU information so that Windows(and by extension NVIDIA) thinks that your VM is just a normal “baremetal” machine, and that it is not virtualised. After more and more digging, as it turns out, NVIDIA has actually allowed GPU passthrough at some point, and no longer prohibited the installation of NVIDIA drivers on virtualised hardware, thereby making the previous workarounds null and void. And adding these flags for some reason actually messes up the entire install, and Windows would crash when you install the drivers.
And, in the case that you did use these flags and did mess up your VM, just removing the flag doesn’t solve the problem, which makes diagnosing all the more difficult. I had to reinstall Windows and try again. Previously, I kept getting blue screens and googling the solution only led me even more astray. Apparently, it is due to the interrupt handling method used, hence the third flag. You can read more about it here:https://enterprise-support.nvidia.com/s/article/VMware-vDGA–GPU-Passthrough-Requires-That-MSI-is-Disabled-on-VMs
Long story short, to do GPU passthrough, you literally just add the PCI devices passthrough in the VM settings and install everything as you’d normally do for a normal computer. Fingers crossed, everything will work correctly.
Surprisingly, even with the GPU riser and this janky setup, everything worked perfectly normally. I could output 4K@60Hz without any issue, and video playback is just fine, hardware acceleration works. I expect that performance would probably be nowhere near its full potential if it was plugged into a x16 slot, but honestly, I just need it for the display output and for youtube watching, which it totally does fine! Finally, this is another battle defeated.
USD HID Passthrough
Up next, USB passthrough, or more specifically, passthrough for my mouse and keyboard. Generally, ESXi will allow you to just pass-through just about any USB device that you’d like, except for HIDs like my Logitech Unifying Receiver. By default, any input device plugged into the system will be used for interacting with the management console, and therefore you can’t use them for VM passthrough. The solution is to specify during boot to tell ESXi to not use these particular devices for input.
There are plenty of tutorials out there, but this is the one that I felt is the clearest and easiest to understand. https://www.lawlor.cloud/vmware-esxi-7-usb-hid-passthrough/
Since the author is passing through their Logitech Unifying receiver, I was able to copy-paste their commands and voila, it worked. Ok, I lied, I spent like 4 hours trying to get it to work. To make sure no one repeats the same mistake as I did, I would like to highlight Step 6.2, go to the line that starts with kernelopt, THIS IS VERY IMPORTANT. Do not be an idiot like me and add it to the last line of the file! The reason why we are modifying the boot.cfg file in the first place is to modify the boot options(aka the kernelopt line in the config file) of ESXi, and to tell it to ignore it.
bootstate=0
title=Loading VMware ESXi
timeout=5
prefix=
kernel=b.b00
kernelopt=autoPartition=FALSE CONFIG./USB/quirks=0x046d:0xc52b::0xffff:UQ_KBD_IGNORE
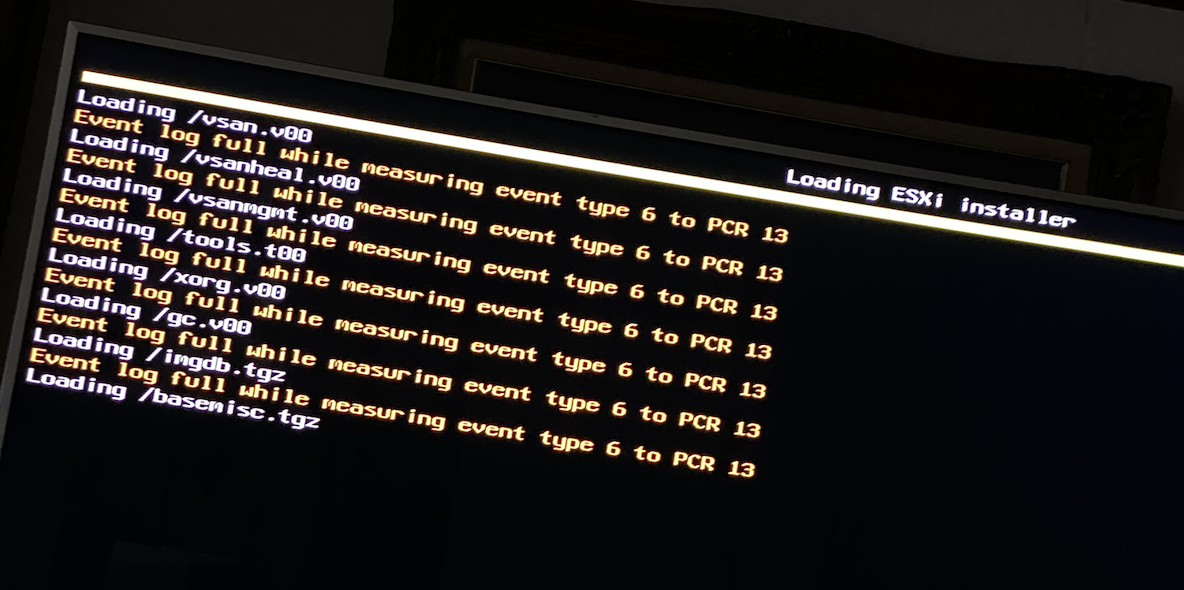
modules=jumpstrt.gz --- useropts.gz --- features.gz --- k.b00 --- uc_intel.b00 --- uc_amd.b00 --- uc_hygon.b00 --- procfs.b00 --- vmx.v00 --- vim.v00 --- tpm.v00 --- sb.v00 --- s.v00 --- atlantic.v00 --- bcm_mpi3.v00 --- bnxtnet.v00 --- bnxtroce.v00 --- brcmfcoe.v00 --- cndi_igc.v00 --- dwi2c.v00 --- elxiscsi.v00 --- elxnet.v00 --- i40en.v00 --- iavmd.v00 --- icen.v00 --- igbn.v00 --- ionic_en.v00 --- irdman.v00 --- iser.v00 --- ixgben.v00 --- lpfc.v00 --- lpnic.v00 --- lsi_mr3.v00 --- lsi_msgp.v00 --- lsi_msgp.v01 --- lsi_msgp.v02 --- mtip32xx.v00 --- ne1000.v00 --- nenic.v00 --- nfnic.v00 --- nhpsa.v00 --- nmlx5_co.v00 --- nmlx5_rd.v00 --- ntg3.v00 --- nvme_pci.v00 --- nvmerdma.v00 --- nvmetcp.v00 --- nvmxnet3.v00 --- nvmxnet3.v01 --- pvscsi.v00 --- qcnic.v00 --- qedentv.v00 --- qedrntv.v00 --- qfle3.v00 --- qfle3f.v00 --- qfle3i.v00 --- qflge.v00 --- rdmahl.v00 --- rste.v00 --- sfvmk.v00 --- smartpqi.v00 --- vmkata.v00 --- vmksdhci.v00 --- vmkusb.v00 --- vmw_ahci.v00 --- bmcal.v00 --- clusters.v00 --- crx.v00 --- drivervm.v00 --- elx_esx_.v00 --- btldr.v00 --- esx_dvfi.v00 --- esx_ui.v00 --- esxupdt.v00 --- tpmesxup.v00 --- weaselin.v00 --- esxio_co.v00 --- loadesx.v00 --- lsuv2_hp.v00 --- lsuv2_in.v00 --- lsuv2_ls.v00 --- lsuv2_nv.v00 --- lsuv2_oe.v00 --- lsuv2_oe.v01 --- lsuv2_sm.v00 --- native_m.v00 --- qlnative.v00 --- trx.v00 --- vdfs.v00 --- vmware_e.v00 --- vsan.v00 --- vsanheal.v00 --- vsanmgmt.v00 --- xorg.v00 --- gc.v00 --- basemisc.tgz --- imgdb.tgz --- state.tgz
build=8.0.0-1.0.20513097
updated=1
If you followed those steps correctly you should be able to pass through your mouse and keyboard just fine!
Mounting My Hard Drives
Earlier I mentioned that due to how my hard drives were already formatted as NTFS, I plan to just reuse it with my Windows system. At first, I thought that this would be another straightforward process, but no, life is never as easy as that.
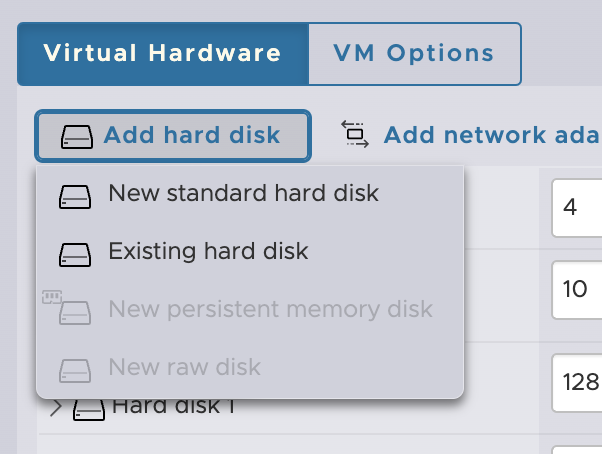
Now, normally, as with ESXi 6.7 and later(I have not verified this), you can add what’s called a RDM, a raw disk mapper to your VM through the VM settings GUI. What this does is that it effectively mounts your drives like you would for any virtual disk. There is an amazing repo in Github that goes into detail on how it works, and how to configure it.
https://gist.github.com/Hengjie/1520114890bebe8f805d337af4b3a064
Well, the thing is, its supposed to be as simple as mounting a new raw disk. But, frustratingly, there is a bug in ESXi 8 where you can’t do it in the normal web interface. How does an enterprise-level software have such a bug that breaks basic functionality is beyond me.
Anyways, the solution is to either do it manually through the command line or to do it through vCenter. Honestly, I forgot what I did. I think I tried doing it with the command line and it didn’t work. So, I used vCenter and managed to get it mounted. I won’t go into detail about vCenter as it is a whole other story for another day. I’m sorry but I genuinely do not remember the steps I took to mount my drive. 😅
Either way, I got my drives working, and in the process, I accidentally mixed the order of the drives. Not to fret, I just made to change my SMB share names accordingly, and everything worked like it used to. My network drive shortcuts on my other computers worked like they normally do.
That’s all
Boy oh boy, this was a goddamn trainwreck. There was a lot more that happened, but I’ve only documented the juicy stuff, hoping that this information will help someone out there. I only had 4 days to work on this project, and I was stressed as heck. Shoutout to the Shopee seller that sold me the PCI-E riser that saved this entire project.
As ghetto as everything is, I’m happy to report that everything has been working well for the past 2 months, and generally is rock solid. Now, I am able to run ubuntu server and Windows on the same computer, and I don’t need to deal with Windows’ crap when trying to do stuff. In my case, I’ve literally only allocated Windows 4GB of RAM and 48GB of storage, the basic necessities for its web surfing duties.
All in all, the project is a tremendous success, albeit a pain in the butt.